Today I’d like to introduce you to the Simagic SimPro Manager software. This tool will be used to configure all your Simagic simracing products. We’ll go through all the basic Direct Drive settings. The ultimate goal at the end of the article will be to create YOUR ideal force feedback. The one that gives you precisely all the information you need to perform on the track. While, of course, having maximum fun on the track.
Download and install SimPro Manager
Time needed: 4 minutes
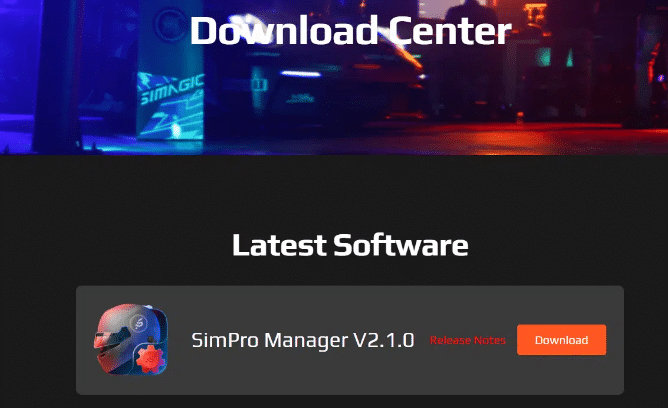
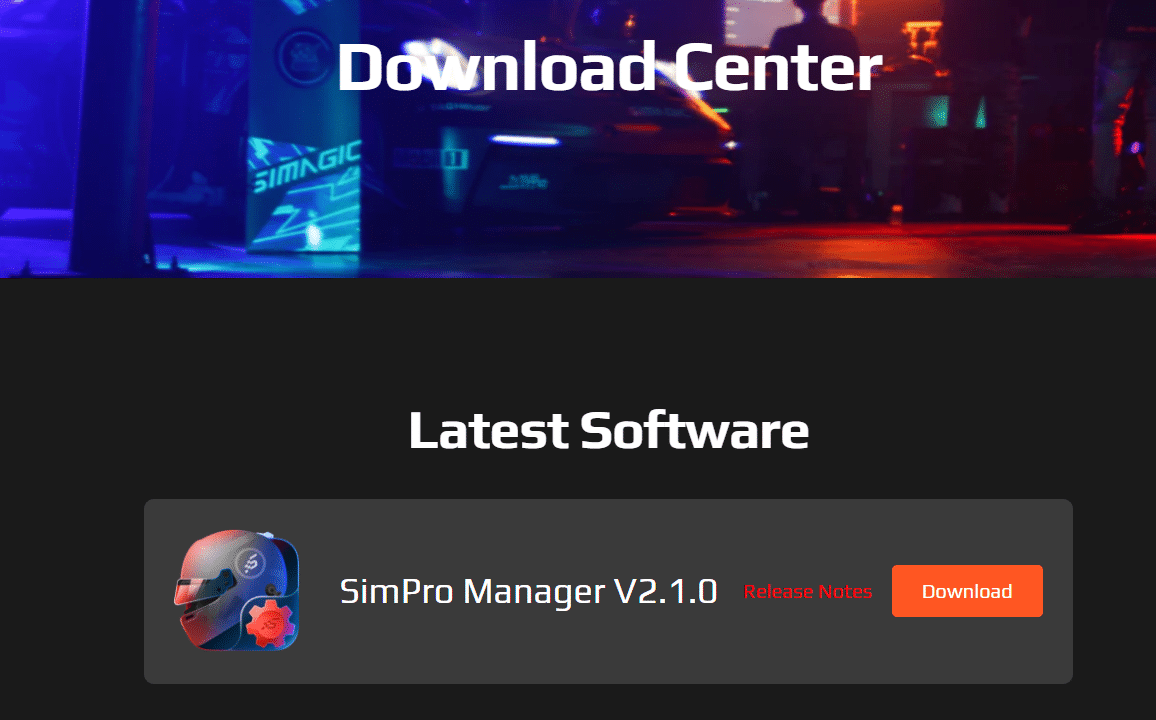
- Download SimPro Manager from the Simagic website
Here is the link to the official download page to find the latest version of the software.
LINK TO DOWNLOAD PAGE
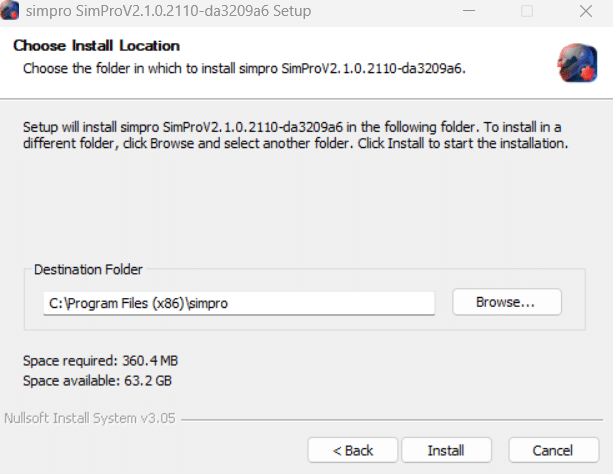
- Install the software on your PC
– Once downloaded, double-click it to start the installation on your PC.
– A window will open asking if you want to allow the application to make changes to the device; click YES.
In some cases, your antivirus may block the installation and delete the file. In this case, disable it for a few minutes while the installation completes, or add an exception to the antivirus. – A series of three windows will then ask you to choose the installation location and then confirm. - Launch the software and set it to another language
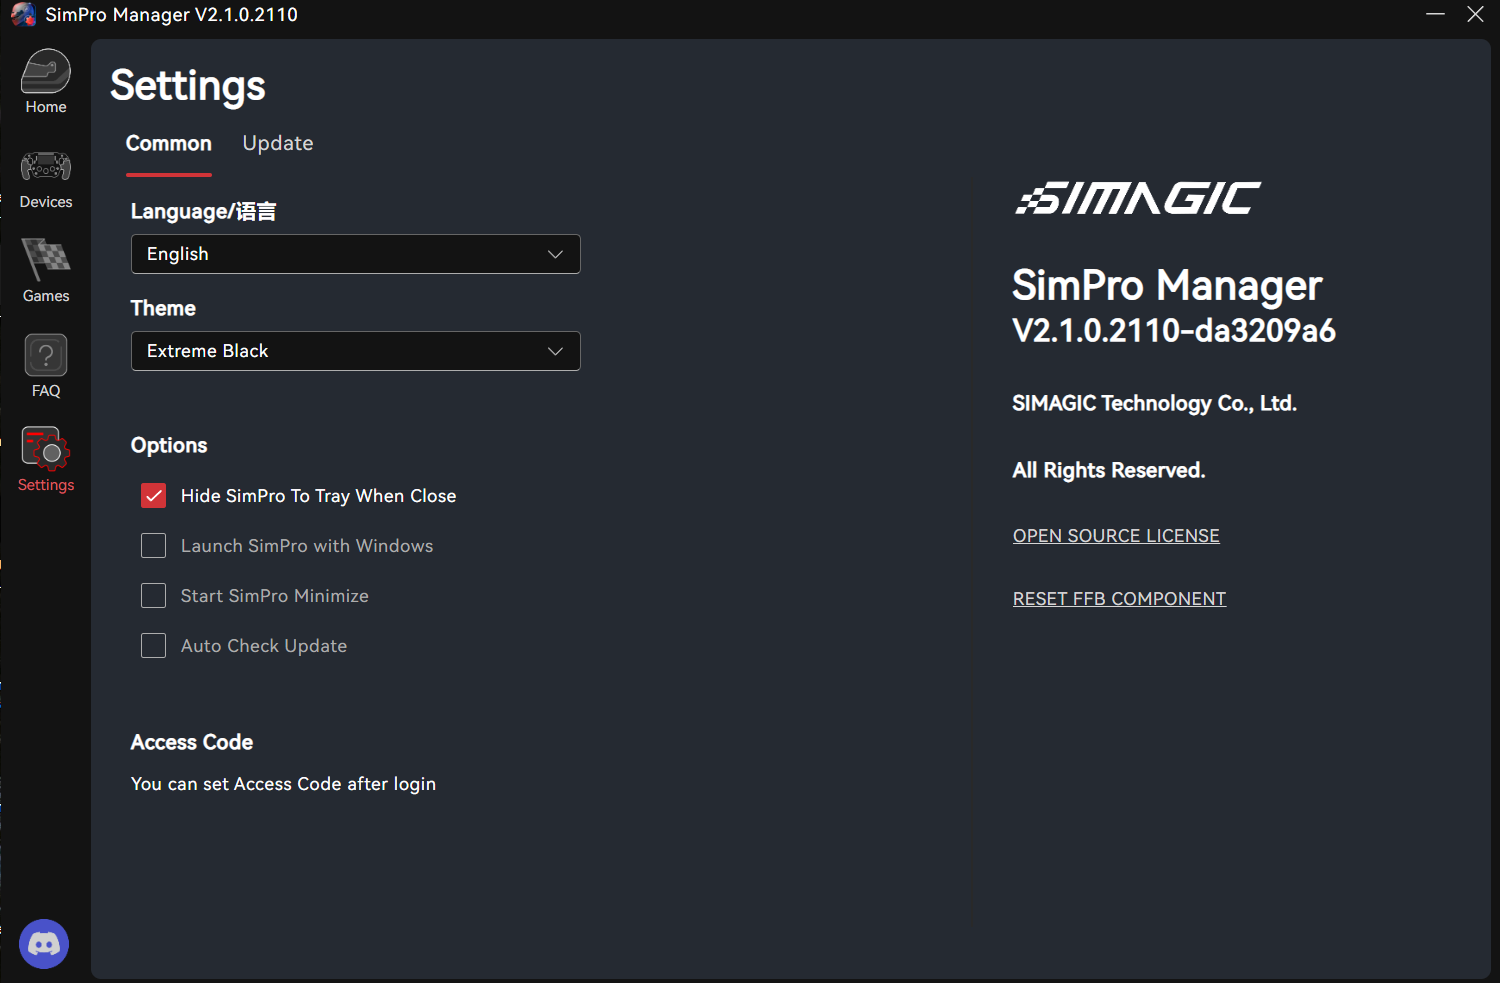
Now that SimPro Manager is installed, it will launch automatically if you didn’t uncheck the option during installation. Or you can launch it manually by clicking on the icon that appeared on your desktop.
The first thing to do is go to the “Settings” tab on the left side of the window. You’ll find the available languages there. If you want to switch your software to another language, this is where you can do it. - Update your Simagic products
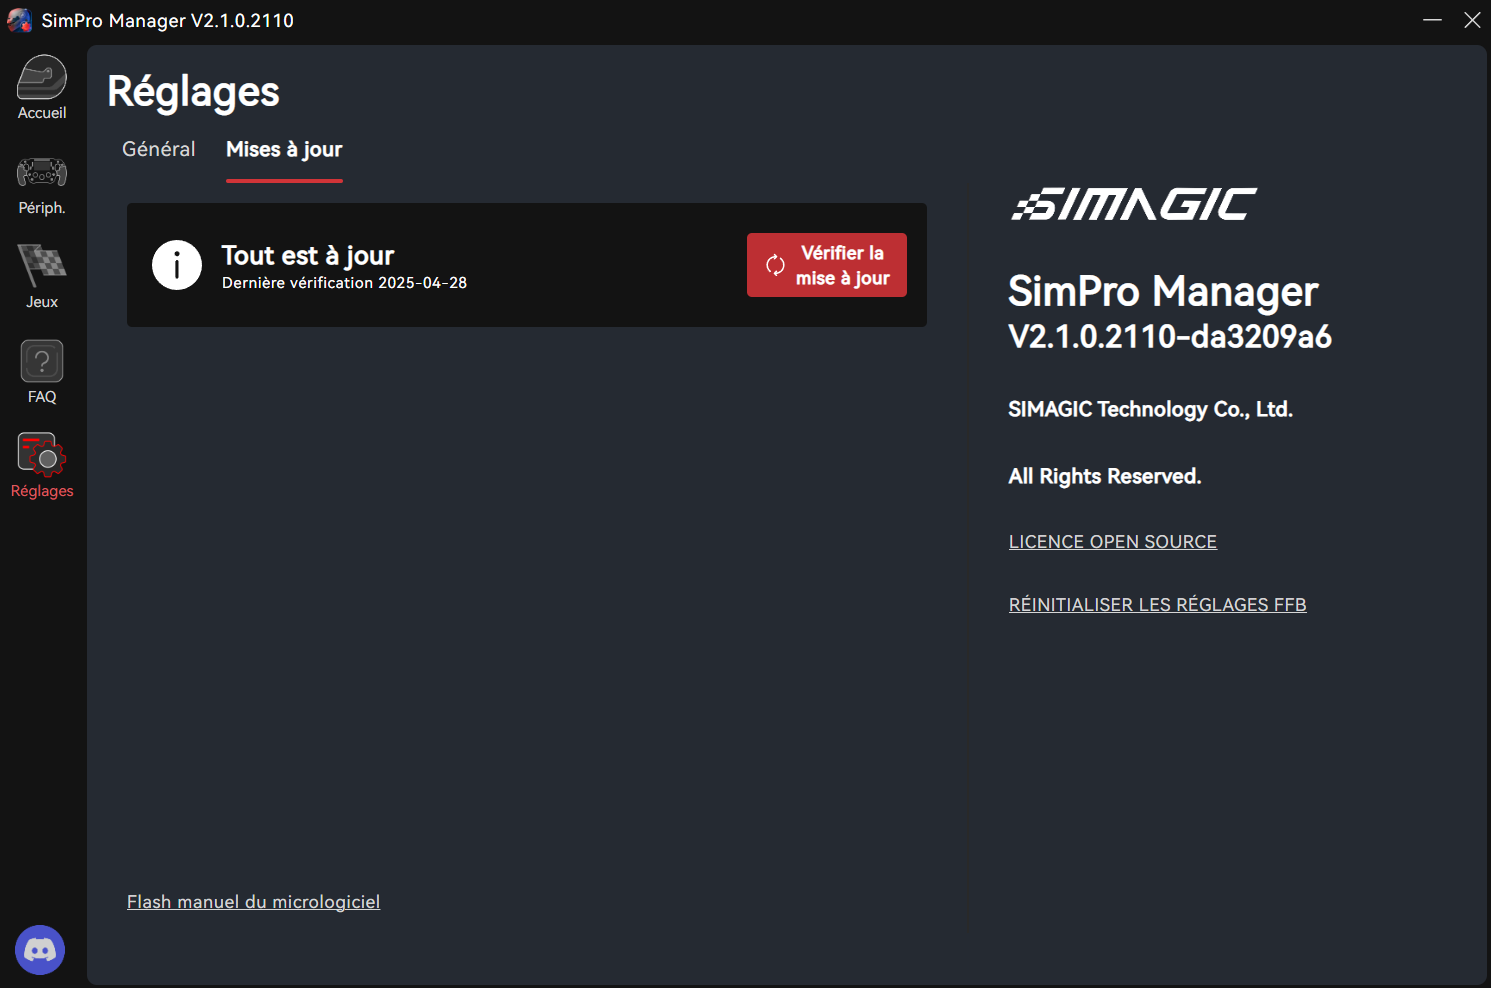
Still in the same window, by clicking on the “Updates” tab you can check that your Simagic devices are up to date. And if this is not the case, click on the red button to have the updates done automatically.
Now you’re ready to get down to settings! Let’s start by setting up your Direct Drive base.
Setting up your Simagic Direct Drive base
To begin with, let’s go to the “Peripherals” tab (on the left of the window). Here you’ll find a list of your Simagic products connected to the PC. At the bottom of the window, you can switch from one product to another to adjust its settings. Click on “Base” and off you go!
Steering settings
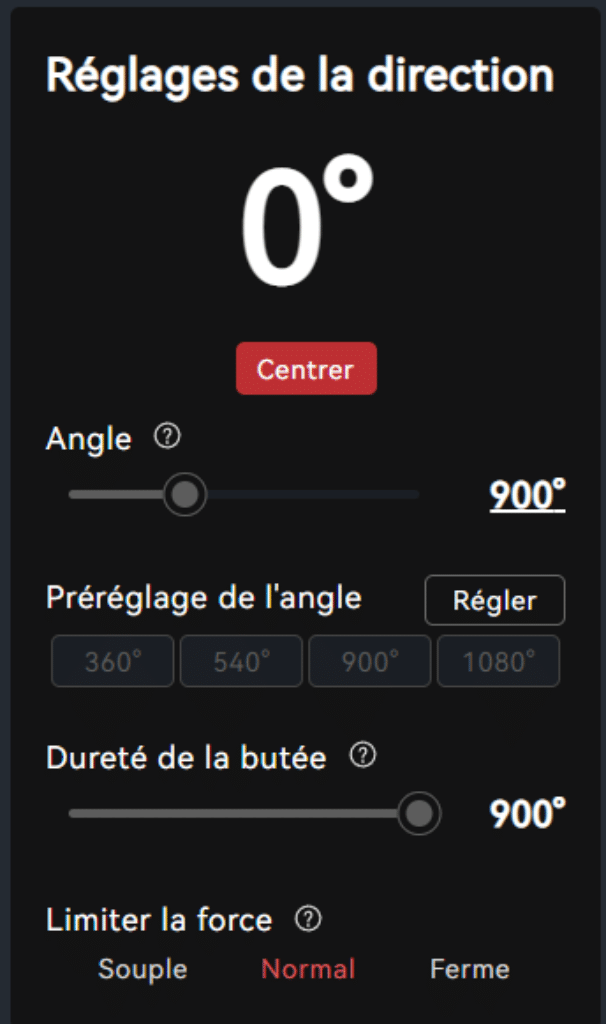
Right, let’s start by making sure your steering wheel is centered. Put the steering wheel straight in front of you and check that the angle displayed by the software is roughly 0°. If not, click on the “Center” button.
Angle
- What’s the angle? The maximum steering angle.
- Options: 90 to 2520°.
This is probably the easiest setting to understand. Depending on the angle you choose by dragging the slider or entering it manually with your keyboard in the box provided, you’ll be able to select precisely the angle you want to achieve at maximum before reaching the steering stop.
Angle presets are the most common settings, and by clicking on them your base will immediately adjust to the chosen angle. You can also add/remove/modify them by clicking on the “adjust” button.
Base hardness
- What’s this? This setting is a misnomer. In reality it allows you to define a stop point that will intervene before the maximum steering angle you’ve set.
- Options : Value in degrees.
You can choose whether or not to synchronize the steering angle and the angle at which the base will stop your rotation. But what’s the point?
Let’s take an example. Let’s say you’re on Assetto Corsa without Content Manager. You can set your wheel to 1080°, but if you’re on a vehicle with a smaller steering angle, in certain scenarios your steering wheel won ‘t lock. It’s very detrimental to immersion! (But then, if you’re playing AC without Content Manager, you’re missing out on the best part of the game…). So, by defining a specific stop, you’ll be able to set the steering angle to 1080° and then the stop according to the type of vehicle you’re using.
Limiting force
- What are force limits? How hard you want the steering shaft to lock when you’ve reached the limit.
- Options: Soft – Normal – Firm
Depending on the mode you choose, you’ll have more or less hardness when you reach the steering angle stop. Try all three to find the effect that feels most natural to you.
Basic settings
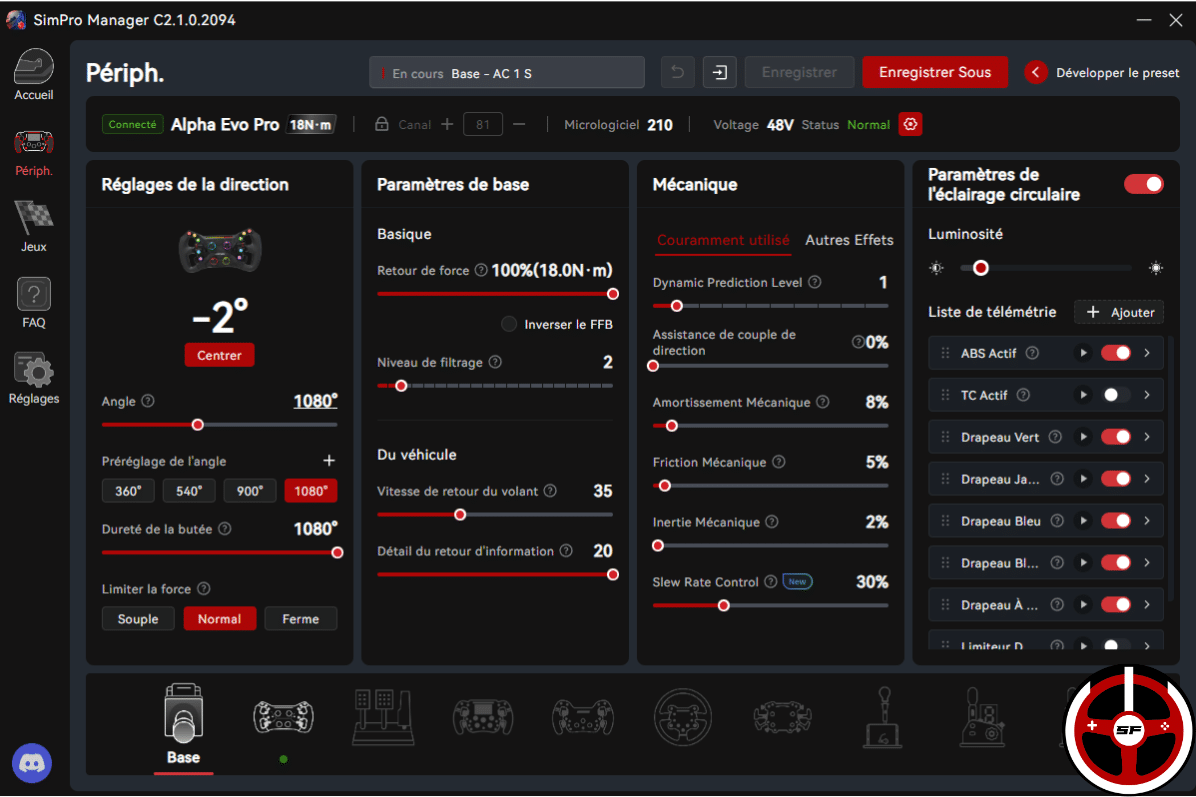

In the center of the Simagic SimPro display, you’ll find the settings that influence the behavior of the base itself.
Force feedback (Alpha Evo bases) – Maximum torque (Alpha bases)
- What is maximum torque? Maximum torque sent by the base’s motor.
- Options: 0 to 100 and “Reverse FFB”
This is the maximum power your Simagic base will deliver. For example, if you have an Alpha Mini base that can send 10Nm of torque and you set this parameter to 100%, all 10Nm of torque will be used. The setting is proportional to power. Set to 50% on an Alpha Mini, you’ll get 5Nm of torque delivered.
The “Reverse FFB” checkbox will be useful if you’re running certain simus like rFactor 2 or Le Mans Ultimate, for example. If you don’t reverse the FFB with these games, your steering wheel will behave in a totally erratic and dangerous way. And why is that? Well, because some games send a reverse force feedback signal. In other words, they will natively send data from left to right and vice versa. By checking the box, the data is just put back in the “right” direction.
Please note: for Alpha bases, this setting is located on the right-hand side in the “mechanics” section of the FFB settings.
Filter level (Alpha Evo bases) – Fluidity (Alpha bases)
- What’s this? A signal softener.
- Options: 0 to 10.
To make the force feedback signal smoother and more fluid, you can increase this setting. Among other things, it reduces the sometimes unnatural couplings we get from force feedback. On the other hand, the higher the setting, the more fine detail you’ll lose. Use with moderation!
Steering wheel return speed
- What’s a flywheel return speed? The speed at which the wheel can turn and send you returns (beware of racket hits).
- Options: 0 to 100
This is the speed at which the wheel will be able to move, react and turn following your actions or those sent by the force feedback. The higher the setting, the faster the wheel will move, but this can also take away from the natural feel. Setting it very low will reduce reaction speed, but you’ll find it harder to feel and catch up with the vehicle in the event of a loss of grip. Once again, you need to find a balance that you like and that feels natural to you.
Feedback details
- What is feedback? Increases the level of fine detail in force feedback.
- Options: 0 to 20
This is a useful system if you find your force feedback a little bland. Raising the fine details will give you a better feel for grip, changes in adhesion, bumps and dips in the track, etc. It’s a good way of picking up details that you might lose if you like to use a lot of damping and friction forces (which we’ll look at in a moment). As always, don’t overdo it either, or your base will become “grainy”, noisy and hotter than necessary.
Mechanics
OK, let’s move on to the filters that will shape the force feedback sent by the base. Let’s start with the basic settings, then move on to the “Other effects” tab.
Dynamic Prediction Level (Alpha Evo bases) – Feedback frequency (Alpha bases)
- What’s this? An interpolation system that fills the gaps in the force feedback sent by older games.
- Options: 0 to 9
Games’ force feedbacks are not equal in the amount of information they send to the wheels. Every second, the game has to send data so that the base knows what to do. The problem is that between the data sent, there are gaps.
And if, on belt or gear bases, the holes are erased by the mechanical parts behind the steering shaft… With Direct Drive bases, this can cause a“grainy” sensation in the force feedback and give a feeling that sometimes lacks fluidity.
Interpolation is used to fill gaps between data. The game sends “chopped” data, and the software fills in the gaps to make everything as fluid and comprehensible as possible. Try out different interpolation settings depending on the simus you’re using!
Steering torque assistance [ALPHA EVO bases only]
- What is it? Reduces the force sent through long turns.
- Options: 0 to 100
If your base is torque-limited (or if you’ve chosen to limit torque yourself), fast, aerodynamically-supported turns can quickly send you straight into the engine clipping zone. Clipping is when the engine has reached its maximum force and is no longer able to send you both force AND track details over the top. It’s something you want to avoid at all costs, but when you’ve got low torque, it’s often difficult to find the balance between power and detail in all situations.
Torque assist will automatically reduce the overall force sent, so you’ll always have detail even in situations where the base needs to send a long force.
Mechanical damping
- What is mechanical damping? Force feedback damping
- Options: 0 to 100
On a Direct Drive base, the steering shaft is not connected to any mechanical element (well, almost not) that would brake it. To add the impression of having a real steering shaft connected to wheels that rub on the asphalt, damping can be a solution.
Damping is a damping effect which also tends to make the steering wheel heavier. The effects of road, suspension etc. will seem more natural, to the detriment of the precision of fine details. So it’s a question of finding your own balance to get both the right immersion and all the information you need to perform.
This is also a very useful setting if you have problems with wobble. If ever your steering wheel has a tendency to go off in all directions in a straight line, even at low speed, turn up the damper a little to reduce or eliminate the problem.
Mechanical friction
- What is mechanical friction? Adds friction to the steering shaft
- Options: 0 to 100
Friction is an effect that adds weight to the steering shaft. The higher you set this parameter, the less easy it is to turn the wheel. It’s also a very practical setting for counteracting oscillations, but it quickly clogs up the details!
Mechanical inertia
- What’s mechanical inertia? Flywheel inertia
- Options: 0 to 100
This effect adds inertial force to the steering wheel’s movements. Handy if you want to feel the weight of the vehicle shifting to one side or the other. However, the more you increase inertia, the more you lose road details. It’s a useful setting for drifting, when you want to impart movement in one direction and then the other to the wheel with greater ease.
It can also be used to reduce left/right wheel oscillations at high speed in a straight line.
Slew Rate control [Alpha EVO bases only]
- What’s this? Allows you to restrict the base’s rate of torque rise.
- Options: 0 to 100
Direct Drive bases are increasingly precise and responsive. But sometimes they are even too responsive to remain pleasant and realistic. The Slew Rate is the speed at which the base will be able to send you a peak in force feedback (going from 0 to 100% force in so many milliseconds). Breaking this torque rise allows you to obtain a more pleasant and realistic force feedback.
Other effects” window
As always in tuning software, you have the opportunity to filter the game’s filters. To access it, click on the text “Other effects”. Don’t worry, these are the last settings – we’re just about there!
Mechanical bounce
- What’s a mechanical bounce? The wheel’s recentering force
- Options: 0 to 100
If you want your wheel to come back to center on its own, as if it were attached to a rubber band, you can activate this effect. But leave it at zero, of course.
Game inertia, rebound, damping and friction
- What’s this? Juggling the effect filters used by the game
- Options: 0 to 200
We’ve talked about these effects before, so I’ll spare you the explanation. This time, the interest is in taking more or less into account the effects sent by the game itself. The default setting is 100. You can lower them to 0 to cut the effect. Or raise them to 200 to double the strength of the chosen effect.
Create different profiles that load automatically depending on the game you’re playing
You can create as many force feedback settings as you like, but it doesn’t stop there. You can also create a variety of settings for pedals, steering wheels, etc. And there’s a super handy tool on the SimPro Manager that automatically loads the right profiles based on the game you’ve just launched. Let’s see how it works:

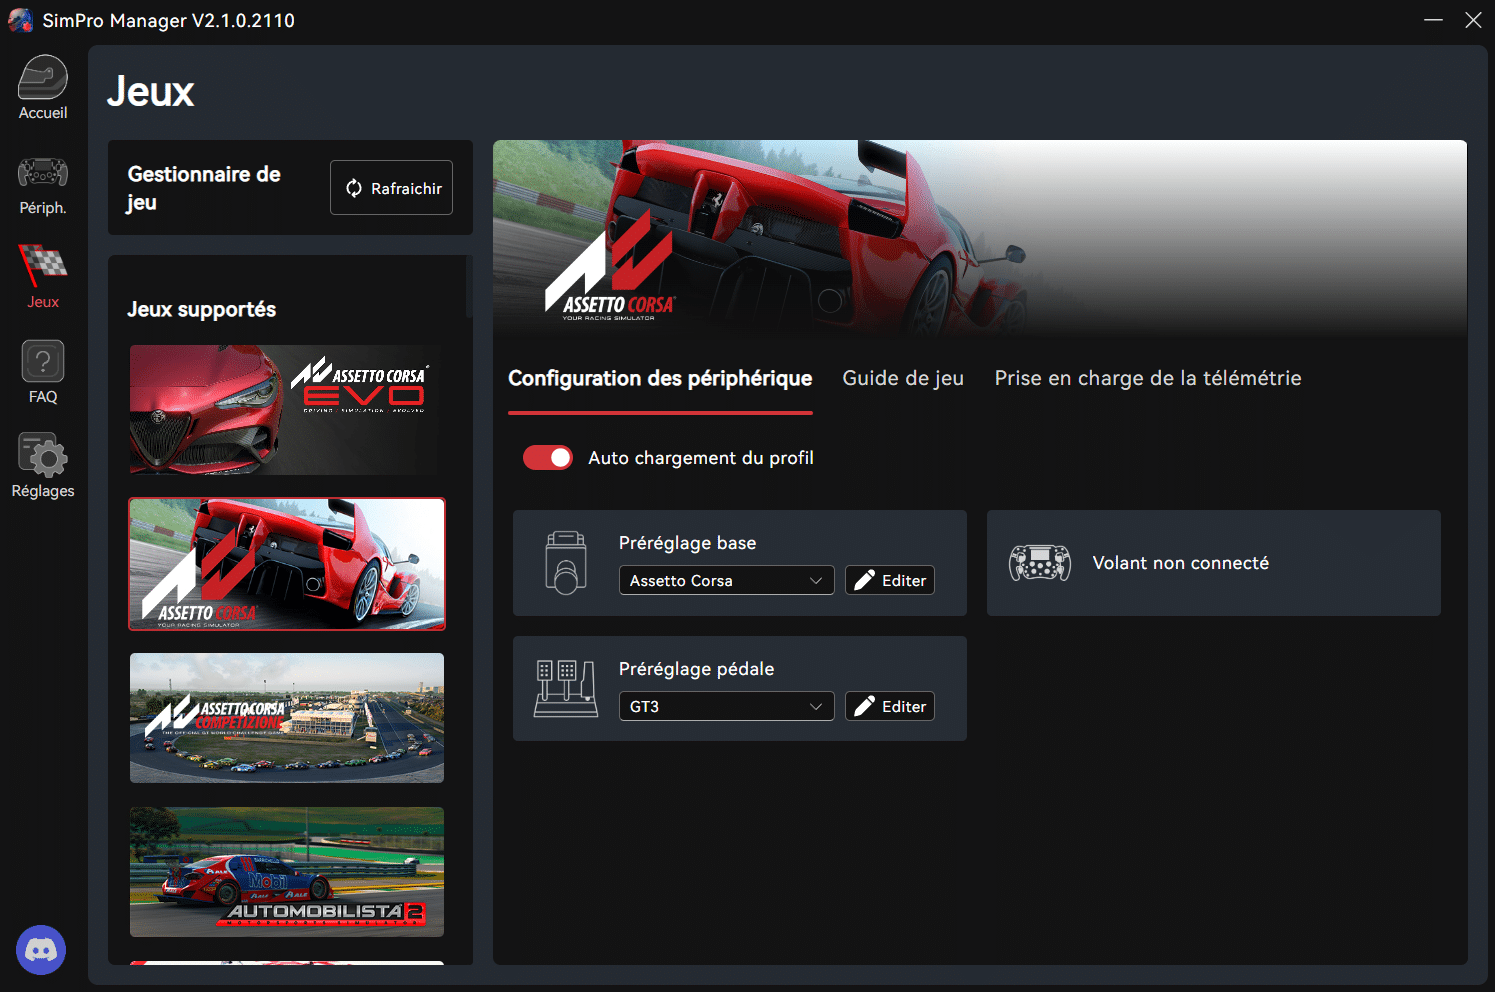
- Create a backup of your settings. You can rename it, then add game categories and custom tags to make it easier to find your way around.
- Then go to the “Games” tab on the left of the screen. Then go to “Device configuration”. You can then choose the profiles that will load automatically each time you change games!
You’re now the master of force feedback on Simagic SimPro!
That’s it! As you can see, it didn’t take us long 🙂
Take half an hour on your favorite simulation to test each setting one by one. This is the only way to fully understand the wide-ranging possibilities offered by Simagic SimPro Manager and the excellent Simagic basics.
Don’t hesitate to let me know in the comments if this was helpful or if there are certain terms that need to be explained differently. I have to admit that I’ve sometimes struggled to find the words to explain the abstract concepts found in FFBs! See you in the comments 😉